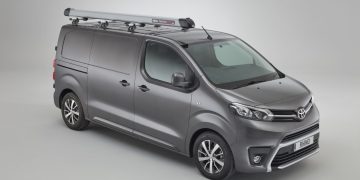

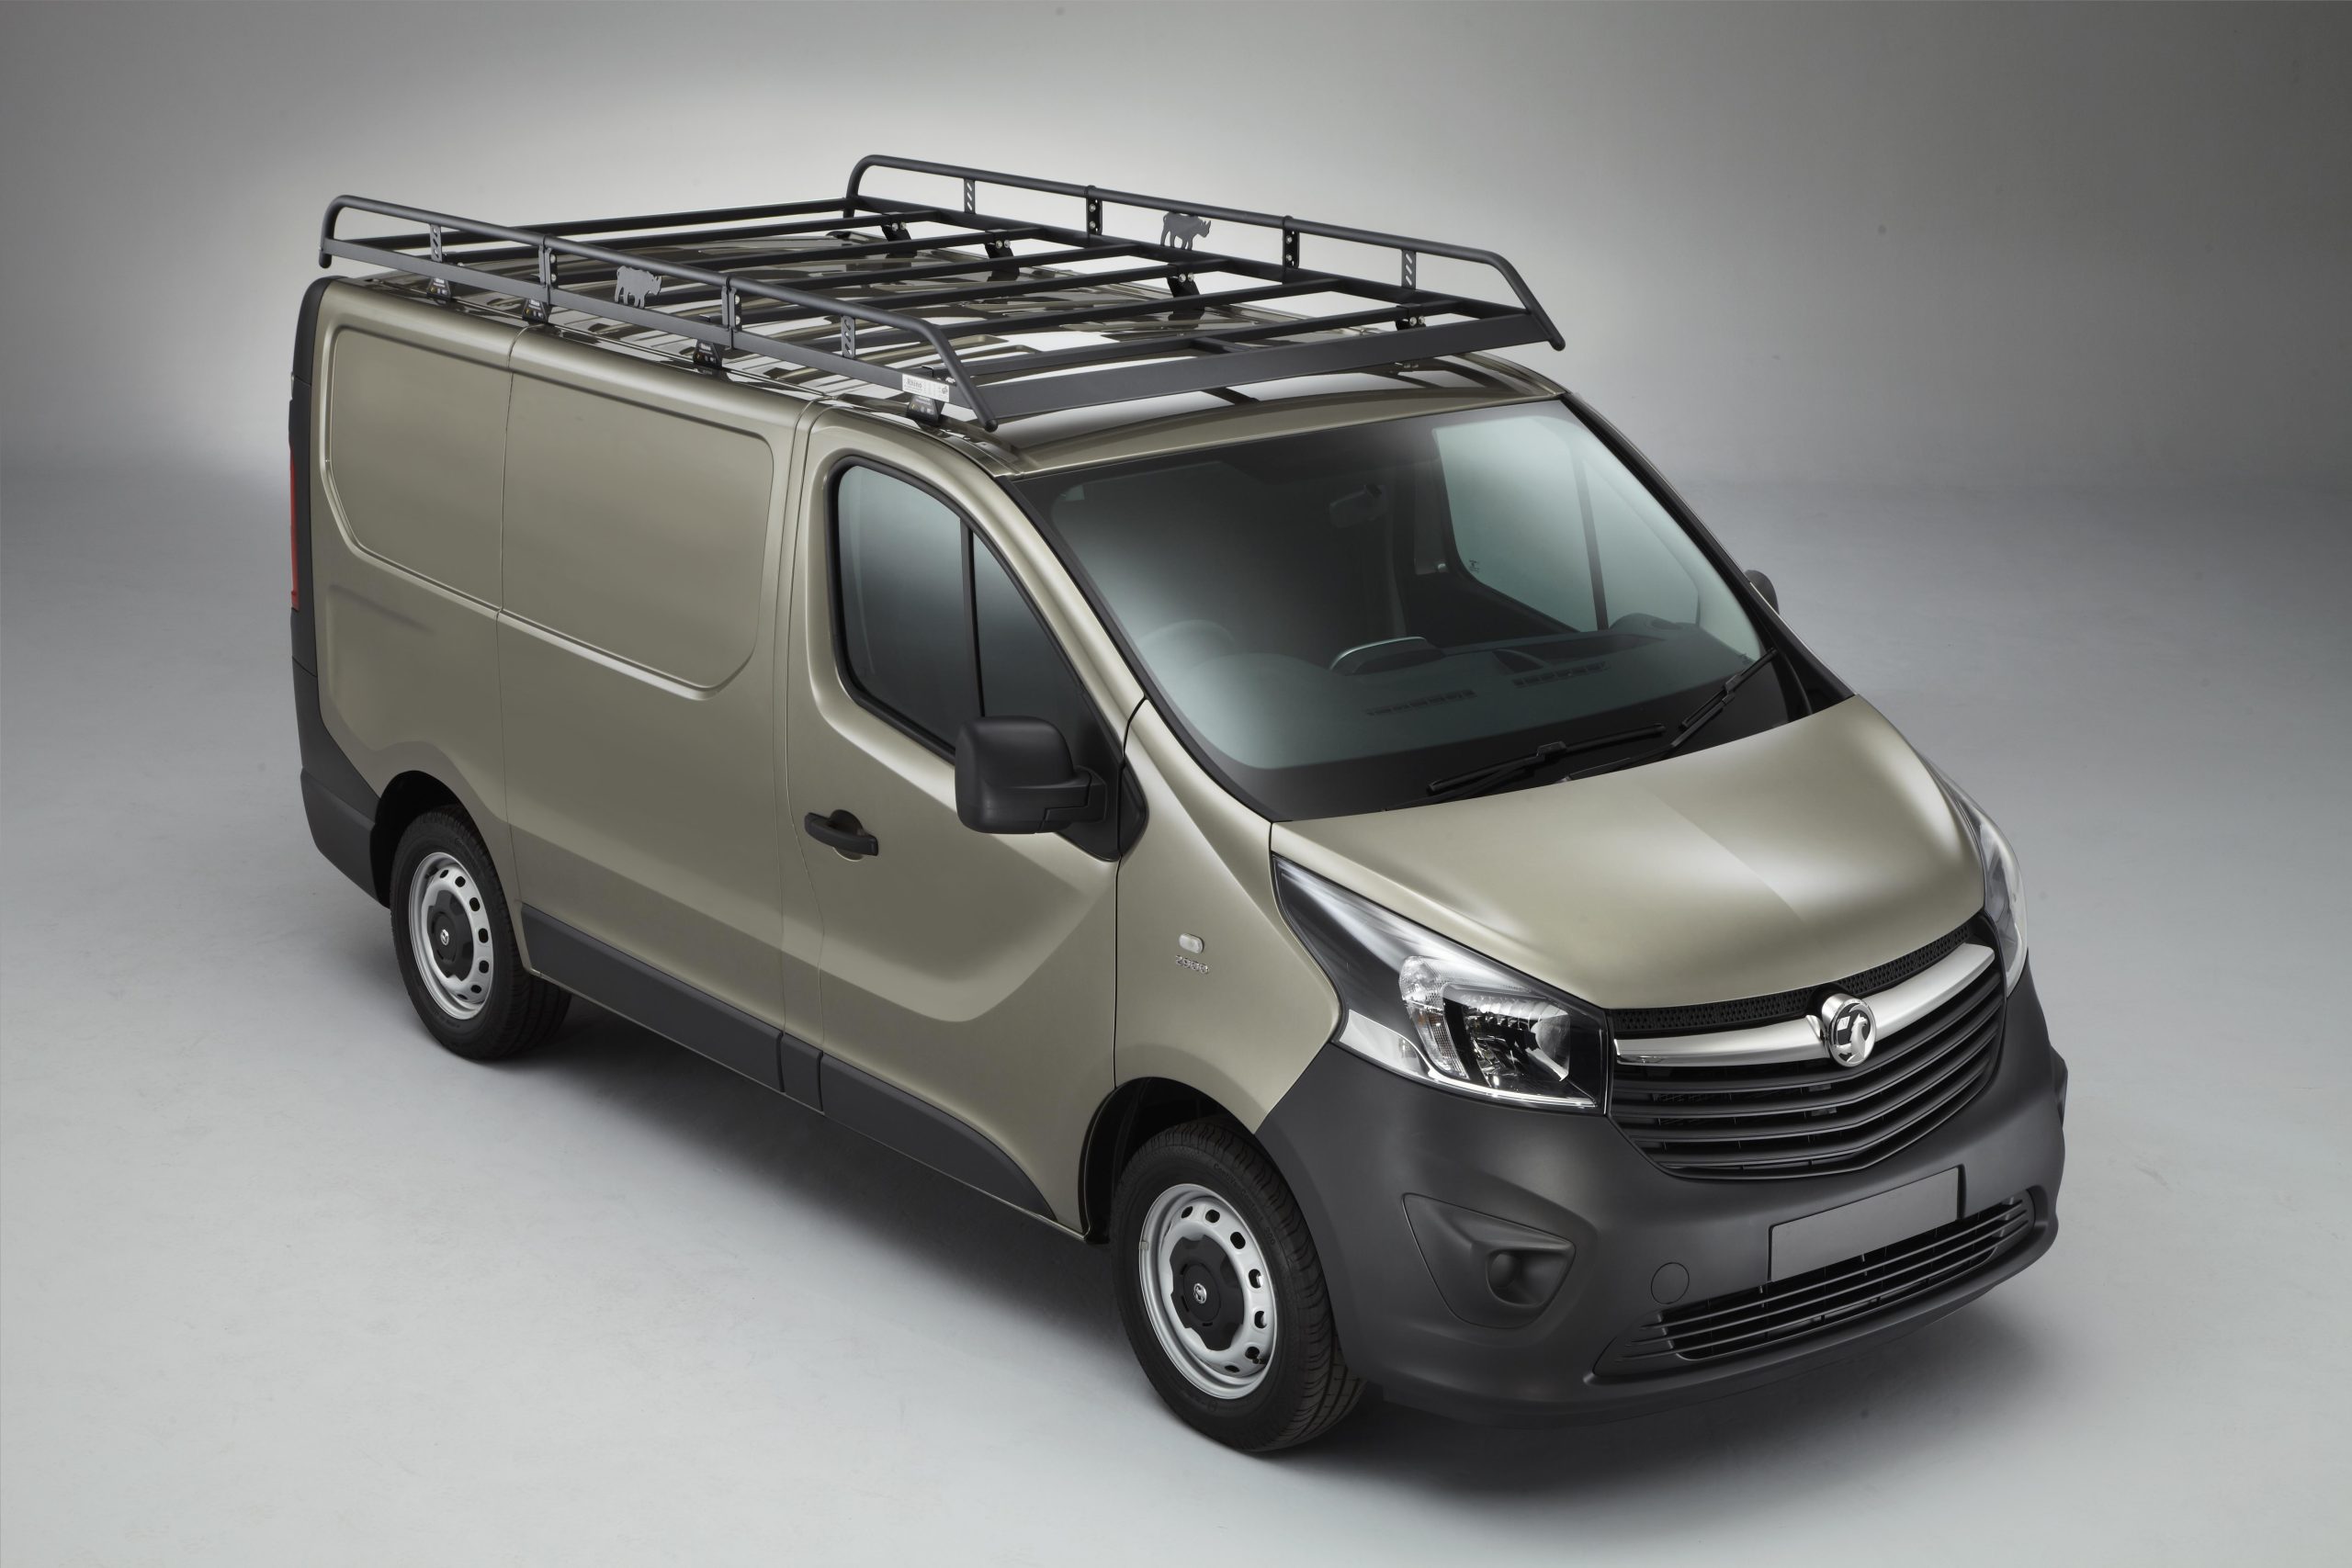
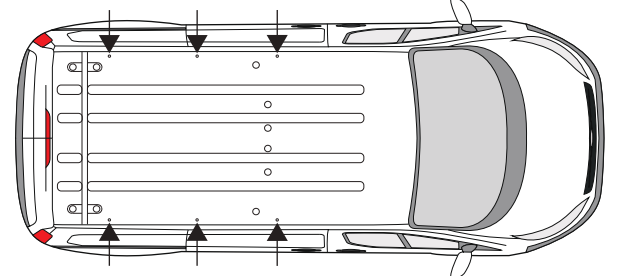
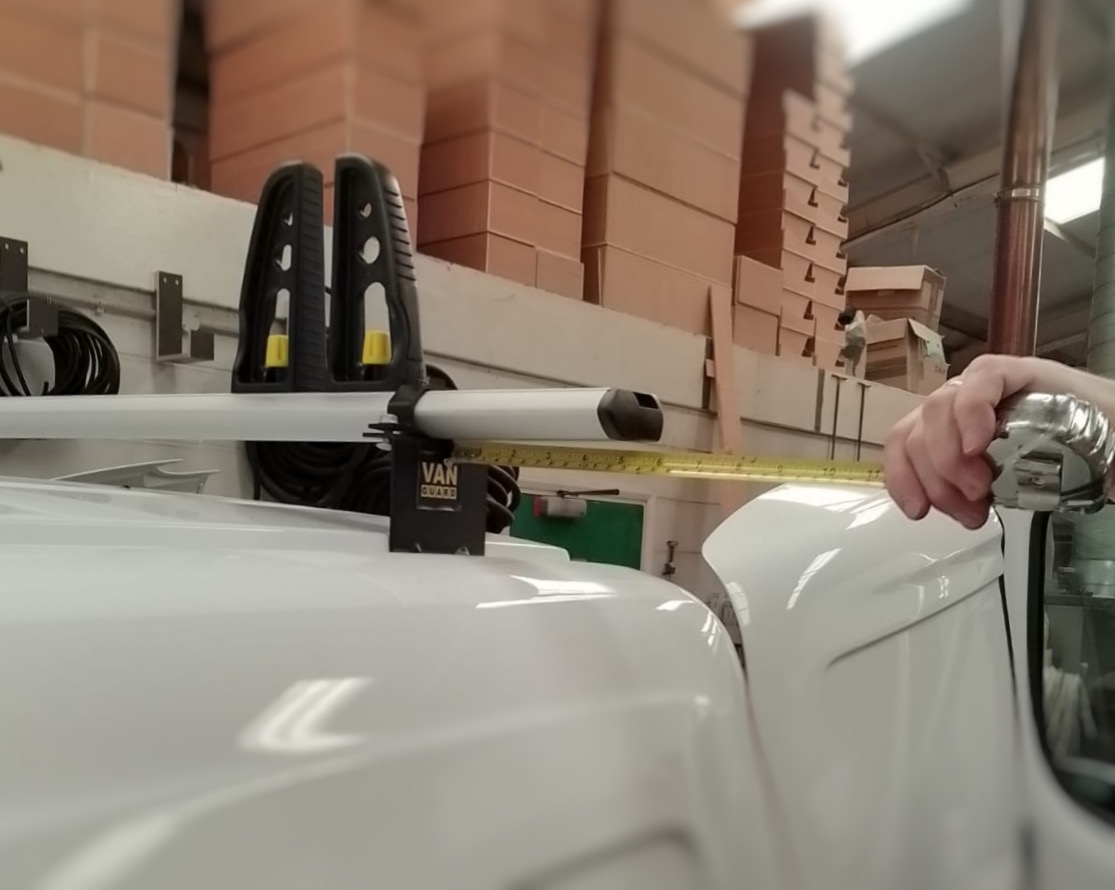



Are you looking to maximize the carrying capacity of your Ford Transit Connect van? Adding a heavy-duty roof rack system is one of the most effective ways to increase your commercial vehicle’s versatility, allowing you to easily and safely transport long equipment, ladders, and bulky materials. In this comprehensive guide, we’ll walk you through the exact process of fitting a set of ULTI Bar+ roof bars to your Ford Transit Connect, ensuring a secure, professional-grade installation.
What You’ll Need for Installation
Before climbing up to begin the setup, let’s gather the necessary tools and components to ensure a smooth workflow:
- ULTI Bar+ roof bars kit (Ford Transit Connect specific)
- Necessary basic hand tools (spanners, screwdrivers, and Allen keys as specified in your kit)
- A step ladder and a clean, well-lit working area
Once your workspace is prepped, let’s dive into the step-by-step installation process.
1. Assessing the Van Roof
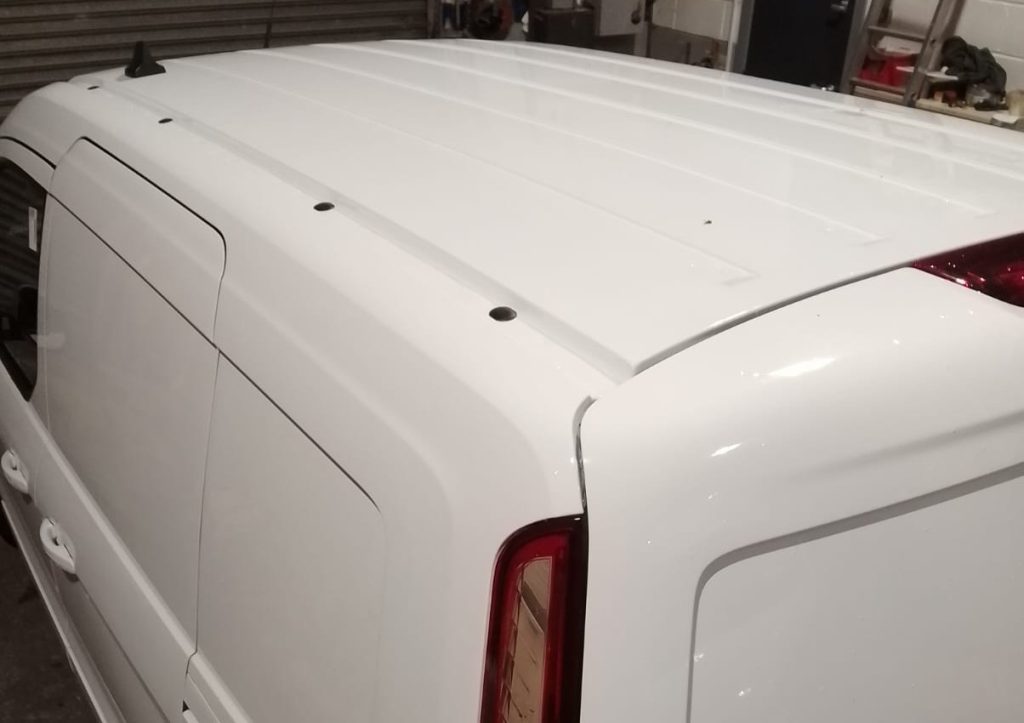
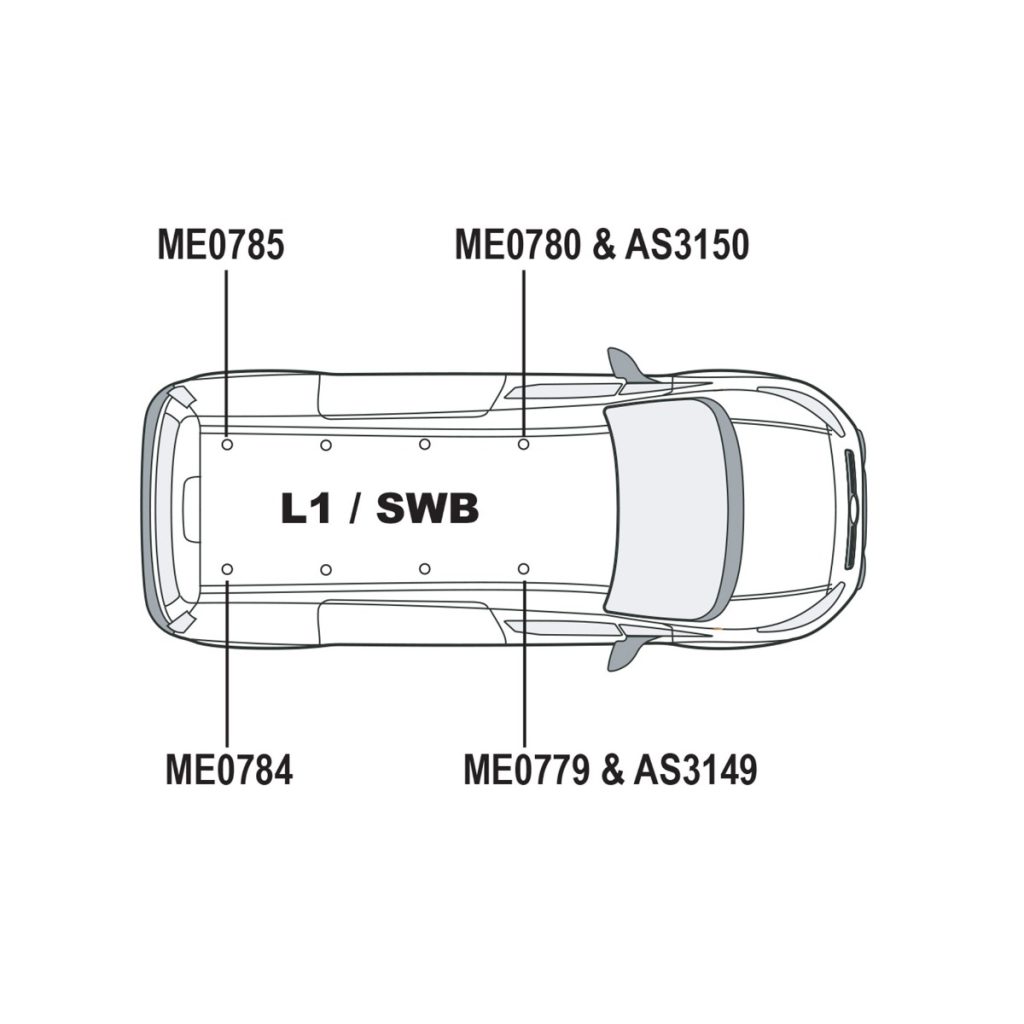
Start by examining the roof of your Ford Transit Connect to identify the optimal placement for the roof bars. Take note of the factory-drilled mounting points and ensure the roof surface is clear of any dirt or debris that might interfere with a flush fit.
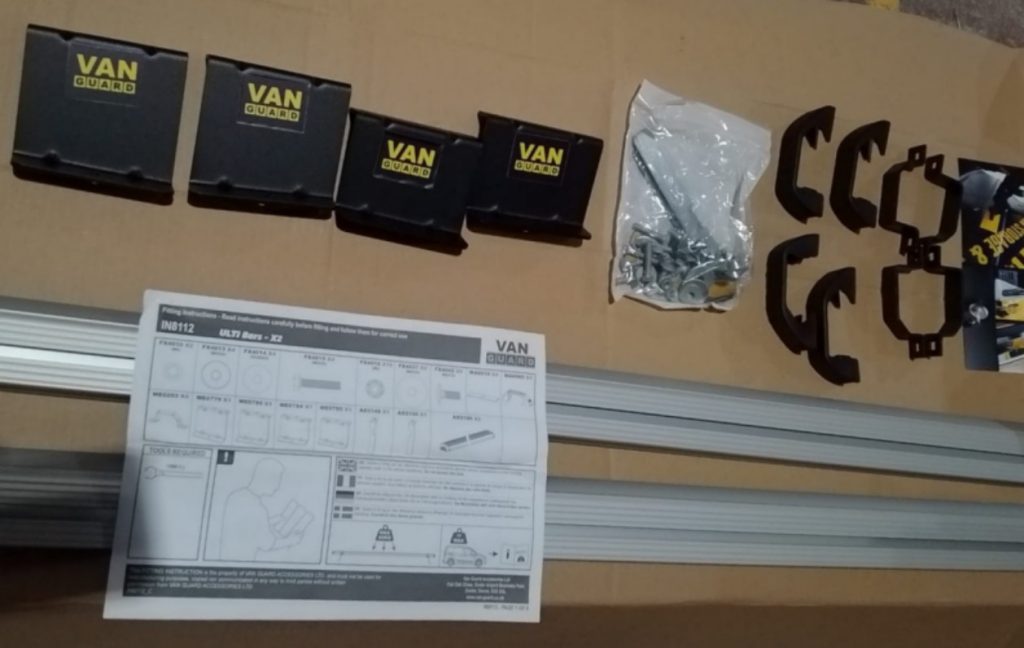
2. Preparing the ULTI Bar+ Kit
Unbox and lay out all the components of the ULTI Bar+ kit. Check your parts list to ensure every bracket, bolt, and bar is accounted for and ready to go. Crucial step: Make sure you thoroughly read the official manufacturer instructions before tightening any hardware.
3. Locating the Mounting Points
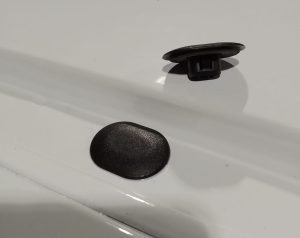
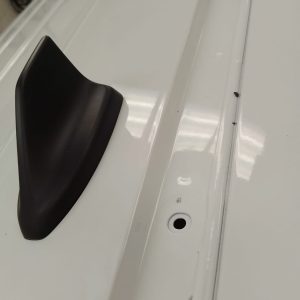
Locate and carefully pop off the plastic mounting point covers on your van’s roof. This will expose the threaded attachment holes specifically designed by Ford for installing aftermarket roof racks.
4. Fitting the Roof Brackets and Bars
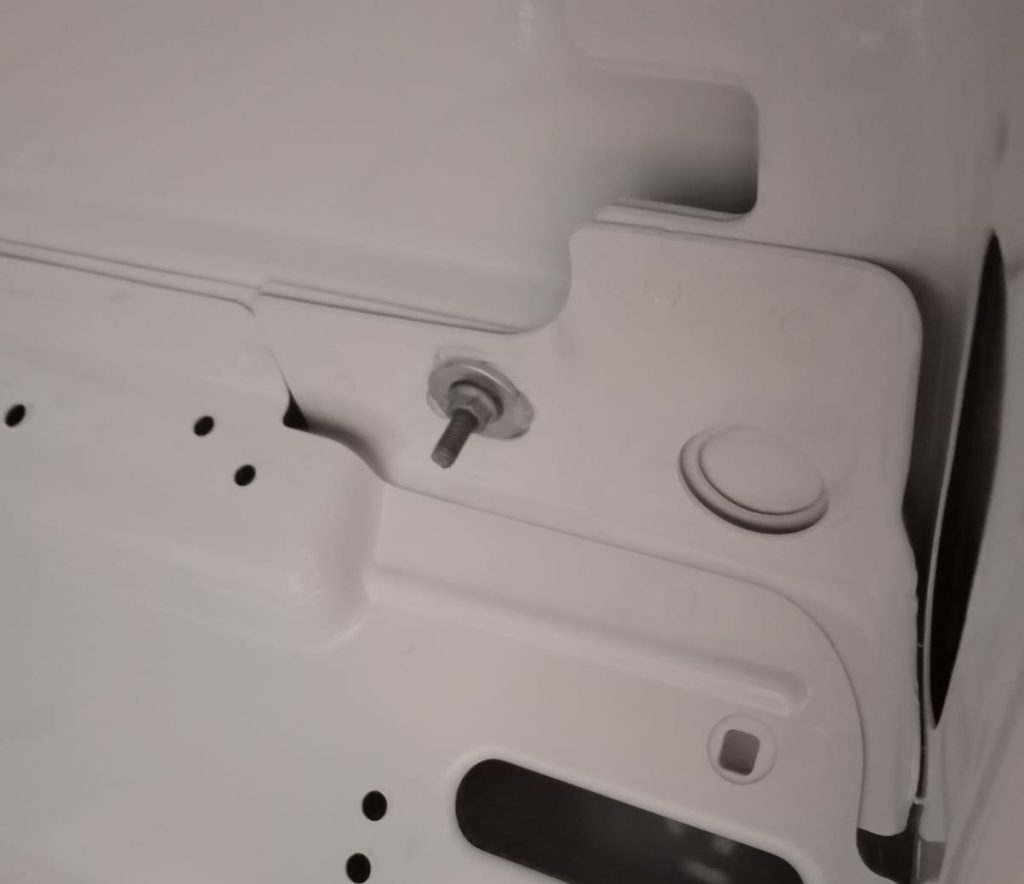
Position the base roof brackets over the exposed mounting points and insert the provided hardware. To guarantee a snug and stable fit, you will need to secure and tighten the bolts from the inside of the van. Once the brackets are firmly anchored to the roof, place the ULTI bars across them, aligning them evenly on both sides before locking them down into their final position.
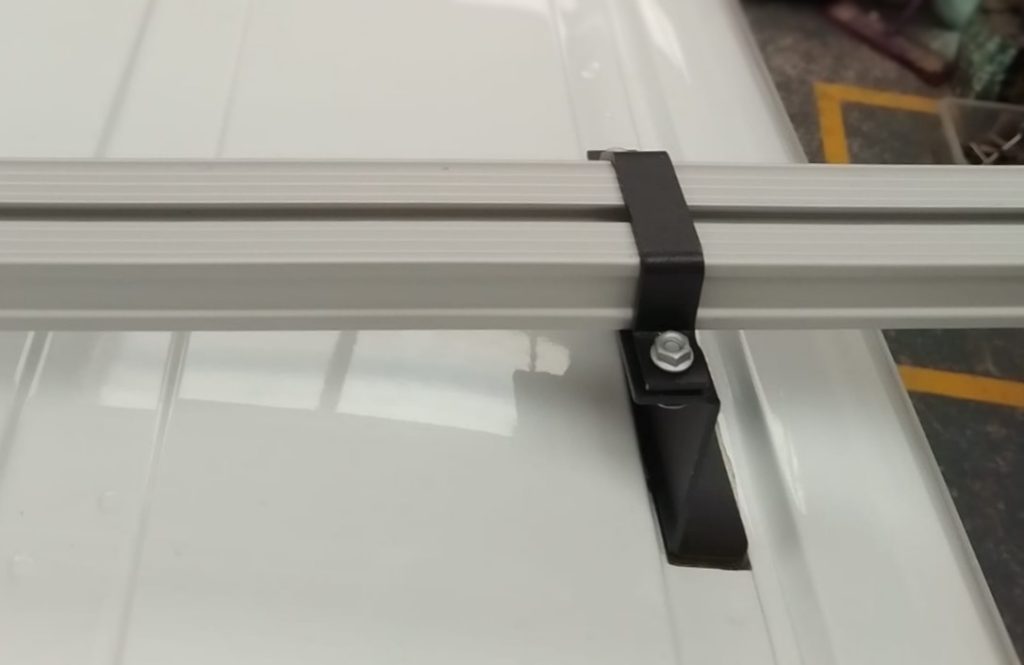
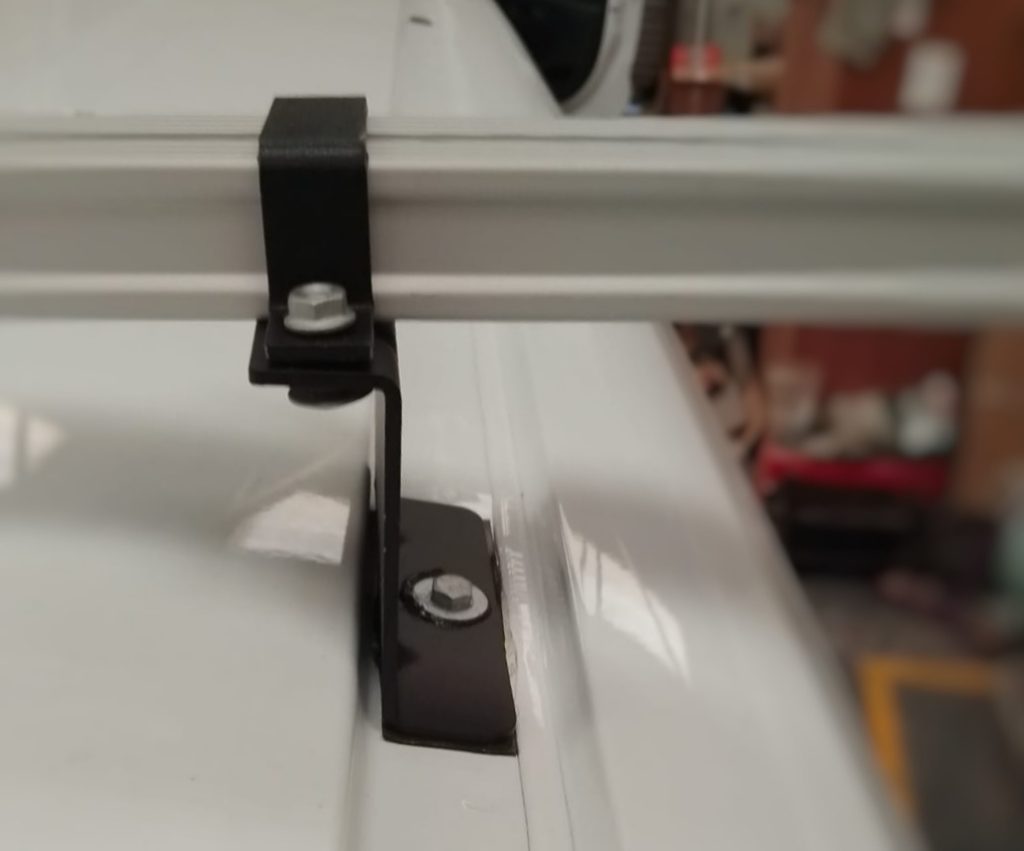
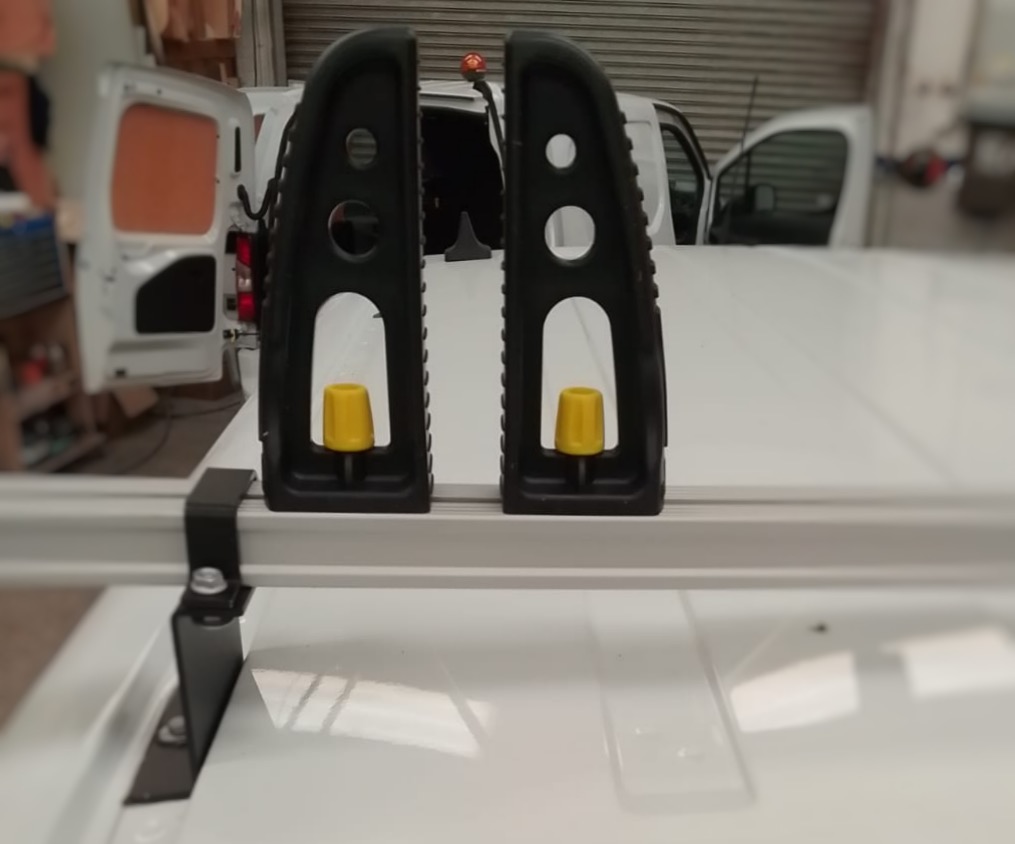
5. Adding Load Stops
Slide and attach the included load stops to the upper channels of the bars. These are essential safety accessories designed to prevent your cargo from shifting or sliding laterally during transportation.
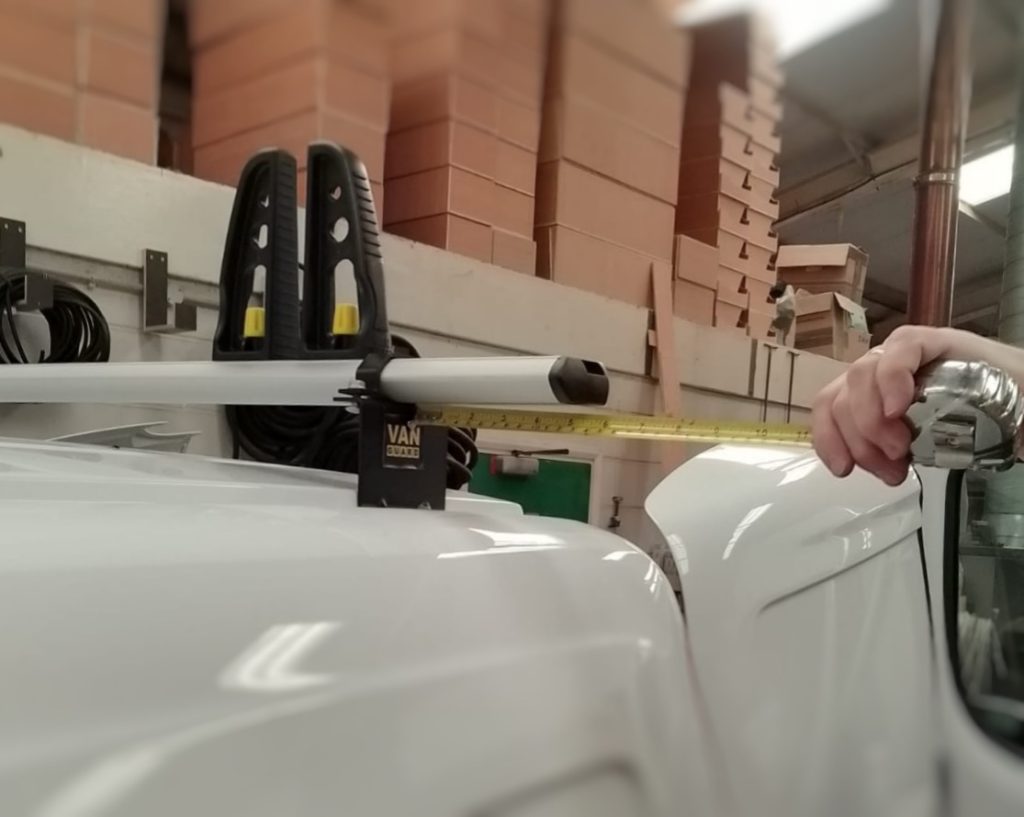
6. Final Measurement and Safety Check
Before loading up your van, perform a final measurement check. Ensure that the roof bars are perfectly parallel, properly aligned, and tightly fastened. Give the bars a firm shake to verify there is no play or rattling in the hardware.
Ready for the Road
By following these steps and referencing the accompanying images, you can successfully and safely install ULTI Bar+ roof bars on your Ford Transit Connect van. With your new roof rack system fully operational, you’ll be ready to tackle demanding hauling needs and optimize your daily workflow with complete confidence. Happy driving!
Need further assistance or advice on outfitting your commercial van? Please don’t hesitate to contact our team at sales@vanroofrack.co.uk or leave a comment below!